Getting Started
Welcome to IntelliToggle, a Dart-native feature flag service built to give you fine-grained control over feature releases, testing, and environments with minimal overhead.
This guide walks through the recommended server-side integration path using openfeature_provider_intellitoggle, the canonical Dart server package for IntelliToggle.
If you are integrating IntelliToggle into an existing backend service, use this guide with Third-Party Integration Checklist. That checklist is the acceptance path for treating the app like a normal external customer integration.
Five-Minute Path
Use this path when you want to prove the integration before wiring it into production code:
| Step | Outcome |
|---|---|
Install |
Add |
Connect |
Create OAuth2 client credentials in IntelliToggle and smoke test token issuance. |
Create flag |
Create a Boolean flag in the dashboard, for example |
Evaluate |
Run the Dart snippet below and confirm it prints the evaluated flag value or your safe default. |
Step 1: Create an IntelliToggle Account
Visit IntelliToggle and sign up for an account.
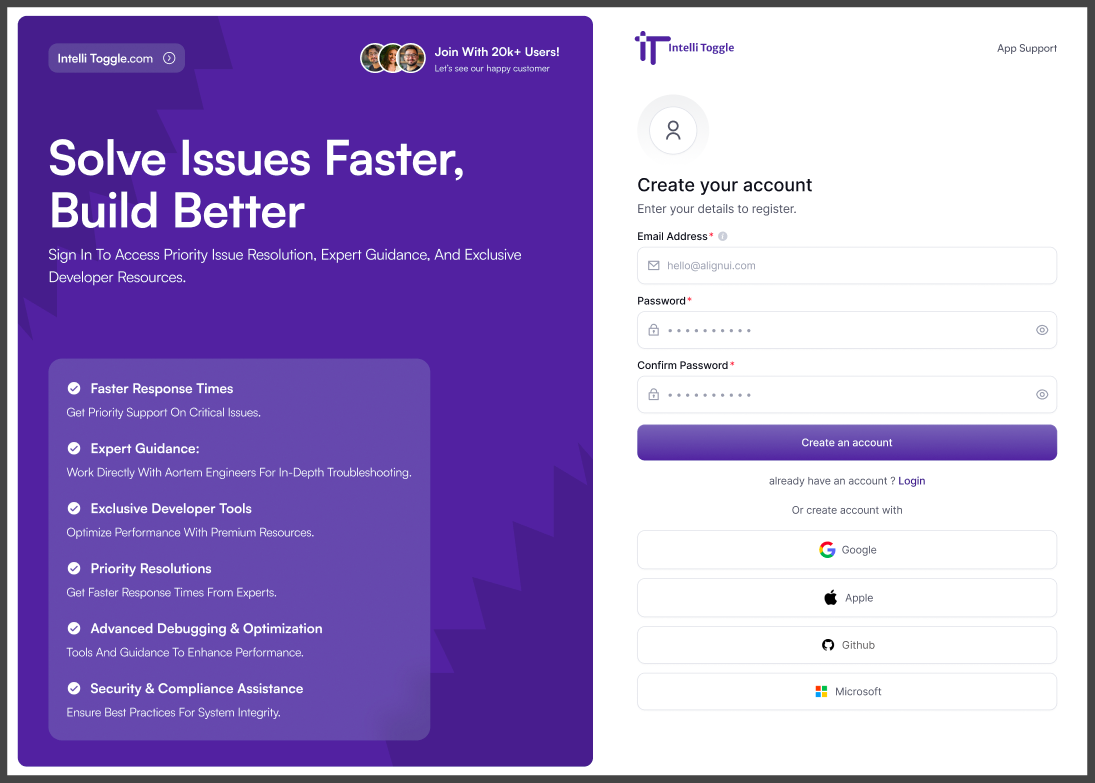
Once signed in, you will land on your dashboard. Sandbox accounts include a preloaded demo workspace for smoke tests. Paid workspaces can create Projects, Environments, and Flags.
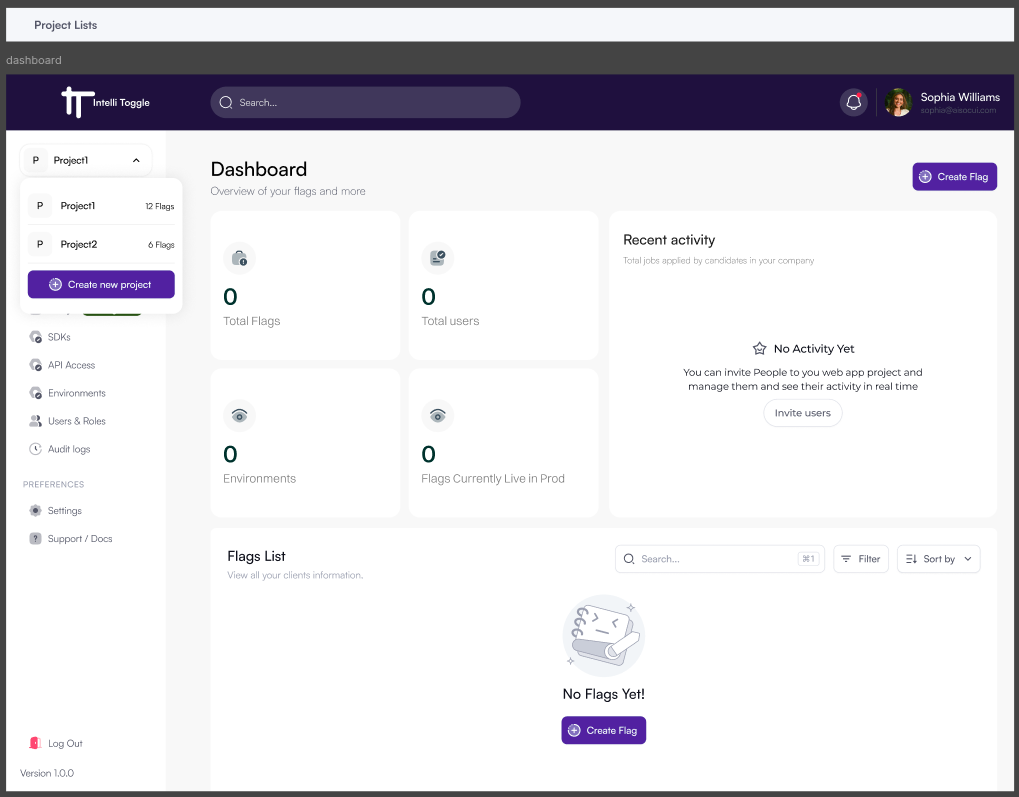
Step 2: Create a Project
-
After signing in to a paid workspace, create a new project. If you are in a sandbox, use the preloaded demo project instead.
-
Enter a name for your project, such as
My Flutter App. -
Select an environment setup.
-
Optionally add a description.
-
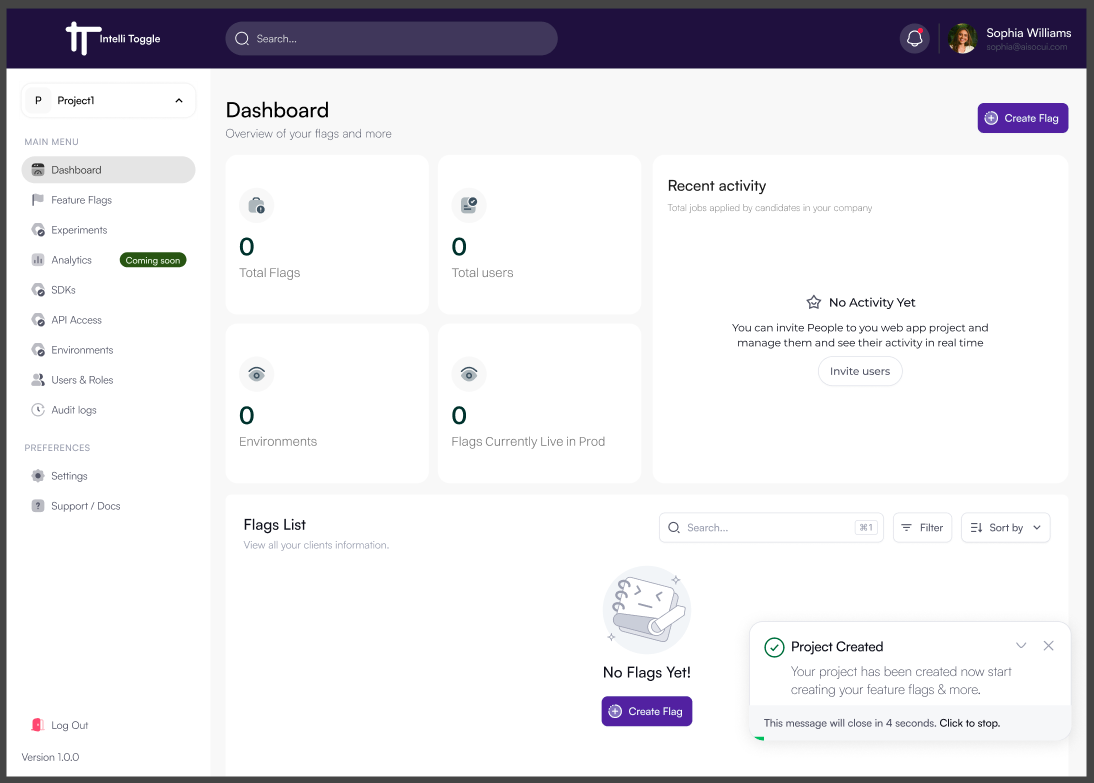
Click Create.
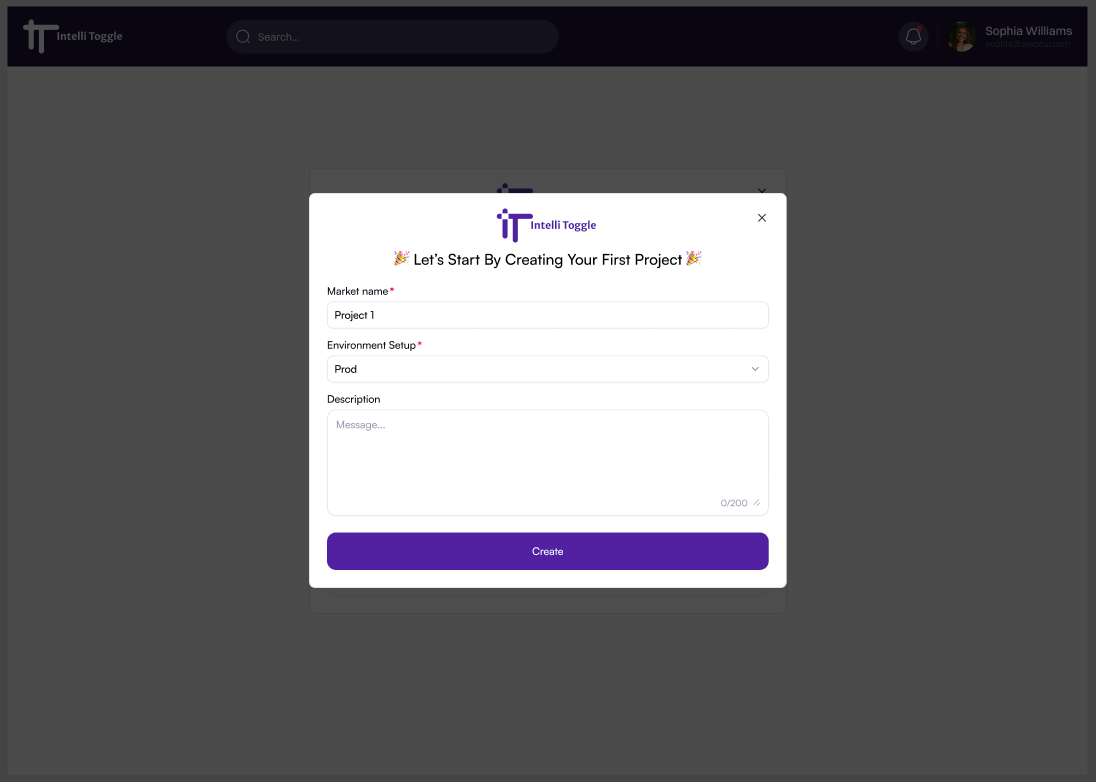
Each project includes at least one default environment, such as development, staging, or production.
Step 3: Create OAuth2 Client Credentials
IntelliToggle uses OAuth2 Client Credentials flow for server-side integrations instead of static API keys. This gives you time-bound access tokens, scoped permissions, and cleaner credential rotation.
This is a machine-to-machine OAuth2 flow. You do not need a redirect URI for normal backend flag evaluation.
For runtime flag evaluation, start with least-privilege scopes:
-
flags:read -
flags:evaluate -
projects:read
Only add write scopes for automation that creates or modifies projects and flags.
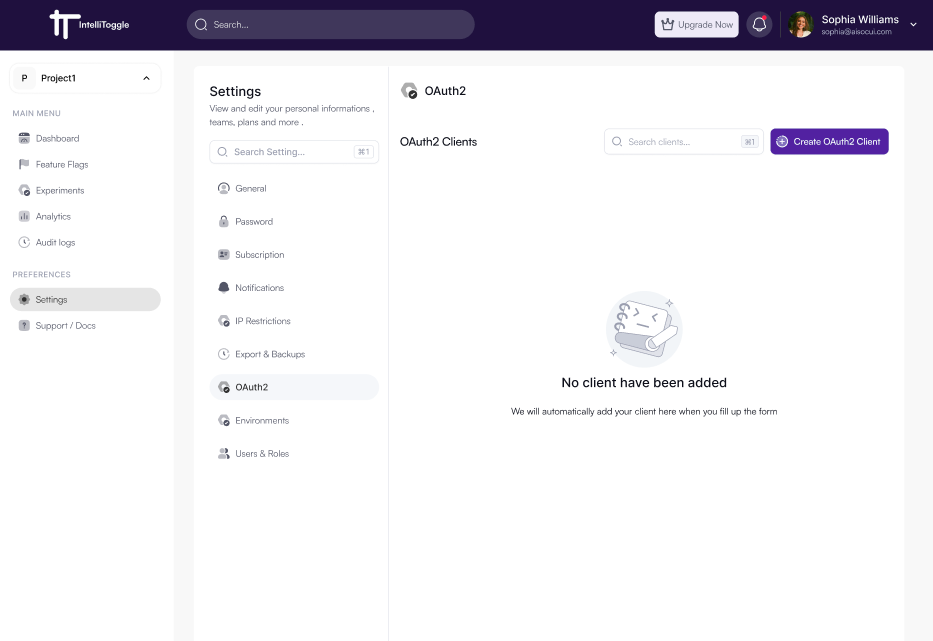
Step 1: From your dashboard, click Settings in the left sidebar.
Step 2: Click Create OAuth2 Client.
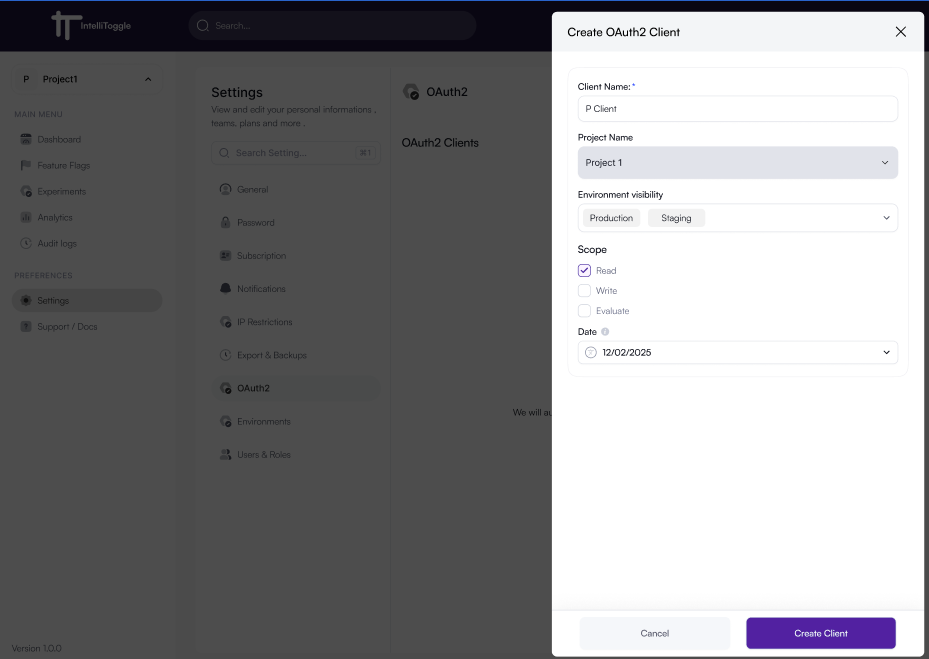
Step 3: Fill in the client name, project, environment visibility, scopes, and expiration details.
Step 4: Click Create Client.

Step 5: Copy the Client ID, Client Secret, and tenant information and store them outside source control.
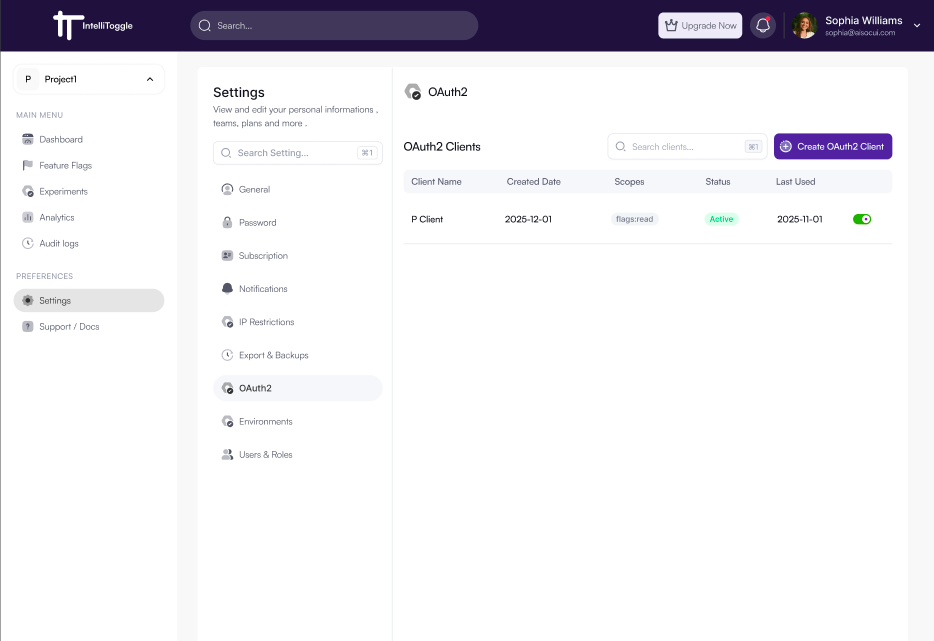
You can review active and inactive OAuth2 clients from the same settings page. Active clients are shown by default; use Show inactive when you need to audit or recover disabled clients.
API Endpoint: https://api.intellitoggle.com/api/v1/oauth/clients
Headers:
Content-Type: application/json
Authorization: Bearer <your-user-token>
X-Tenant-ID: <your-tenant-id>
Body:
{
  "name": "My Production App",
  "scopes": ["flags:read", "flags:write", "flags:evaluate"]
}
Scopes Explained
-
flags:read- List and read flags -
flags:write- Create, update, and delete flags -
flags:evaluate- Evaluate flags for users and services
Response:
{
  "clientId": "client_1753961369992",
  "clientSecret": "cs_1753961369992_secret",
  "name": "My Production App",
  "scopes": ["flags:read", "flags:write", "flags:evaluate"],
  "isActive": true,
  "createdAt": "2025-07-31T13:20:29.002020Z"
}
Store clientId and clientSecret in environment variables or a secret manager. Do not commit them to version control.
|
Step 4: Install Dependencies
Add the required packages to your pubspec.yaml file:
dependencies:
  openfeature_dart_server_sdk: ^0.0.21
  openfeature_provider_intellitoggle: ^0.0.9
Then install them:
dart pub getStep 5: Set Environment Variables
Create a .env file or set environment variables directly.
Use the values shown after creating the OAuth2 client:
Use the API URL and token URL shown in the dashboard-generated integration bundle. Production workspaces use https://api.intellitoggle.com. Development preview workspaces use the configured development API URL, and development credentials will not work against the production API.
|
Linux/macOS
export INTELLITOGGLE_CLIENT_ID="client_1753961369992"
export INTELLITOGGLE_CLIENT_SECRET="cs_1753961369992_secret"
export INTELLITOGGLE_TENANT_ID="tenant_17536855945594559"
export INTELLITOGGLE_PROJECT_ID="project_17536855945594559"
export INTELLITOGGLE_ENVIRONMENT="production"
export INTELLITOGGLE_API_URL="https://api.intellitoggle.com"
export INTELLITOGGLE_TOKEN_URL="https://api.intellitoggle.com/api/v1/oauth/token"
Windows
set INTELLITOGGLE_CLIENT_ID="client_1753961369992"
set INTELLITOGGLE_CLIENT_SECRET="cs_1753961369992_secret"
set INTELLITOGGLE_TENANT_ID="tenant_17536855945594559"
set INTELLITOGGLE_PROJECT_ID="project_17536855945594559"
set INTELLITOGGLE_ENVIRONMENT="production"
set INTELLITOGGLE_API_URL="https://api.intellitoggle.com"
set INTELLITOGGLE_TOKEN_URL="https://api.intellitoggle.com/api/v1/oauth/token"| Never hardcode OAuth client credentials or access tokens in your application code. |
Before adding SDK code, smoke test the credentials:
curl -sS -X POST "$INTELLITOGGLE_TOKEN_URL" \
  -H "Content-Type: application/x-www-form-urlencoded" \
  --data-urlencode "grant_type=client_credentials" \
  --data-urlencode "client_id=$INTELLITOGGLE_CLIENT_ID" \
  --data-urlencode "client_secret=$INTELLITOGGLE_CLIENT_SECRET" \
  --data-urlencode "scope=flags:read flags:evaluate"
The response should include an access_token. If token issuance fails, fix the OAuth client, scope, or subscription state before integrating code.
Step 6: Initialize the Provider
Start with a direct provider check:
import 'package:openfeature_provider_intellitoggle/openfeature_provider_intellitoggle.dart';

void main() async {
  final provider = IntelliToggleProvider(
    clientId: 'client_id',
    clientSecret: 'client_secret',
    tenantId: 'tenant_id',
    options: IntelliToggleOptions(
      enableLogging: true,
    ),
  );

  await provider.initialize();

  final api = OpenFeatureAPI();
  await api.setProvider(provider);

  final result = await provider.getBooleanFlag('new-dashboard', false);

  if (result.errorCode != null) {
    print('Error Code: ${result.errorCode}');
    print('Error Message: ${result.errorMessage}');
  } else {
    print('Flag value: ${result.value}');
  }

  await provider.shutdown();
}
Then create a reusable client for application code:
import 'package:openfeature_provider_intellitoggle/openfeature_provider_intellitoggle.dart';
void main() async {
final provider = IntelliToggleProvider(
clientId: 'client_id',
clientSecret: 'client_secret',
tenantId: 'tenant_id',
options: IntelliToggleOptions(
enableLogging: true,
),
);
await provider.initialize();
final api = OpenFeatureAPI();
await api.setProvider(provider);
final clientMetadata = ClientMetadata(name: 'my-client', version: '0.0.1');
final hookManager = HookManager();
final defaultEvalContext = EvaluationContext(attributes: {});
final featureClient = FeatureClient(
metadata: clientMetadata,
provider: provider,
hookManager: hookManager,
defaultContext: defaultEvalContext,
);
final client = IntelliToggleClient(featureClient);
final newFeatureEnabled = await client.getBooleanValue(
'dark-mode',
false,
targetingKey: 'user-123',
evaluationContext: {
'role': 'admin',
'plan': 'enterprise',
'region': 'us-east',
},
);
print('Flag value: $newFeatureEnabled');
await provider.shutdown();
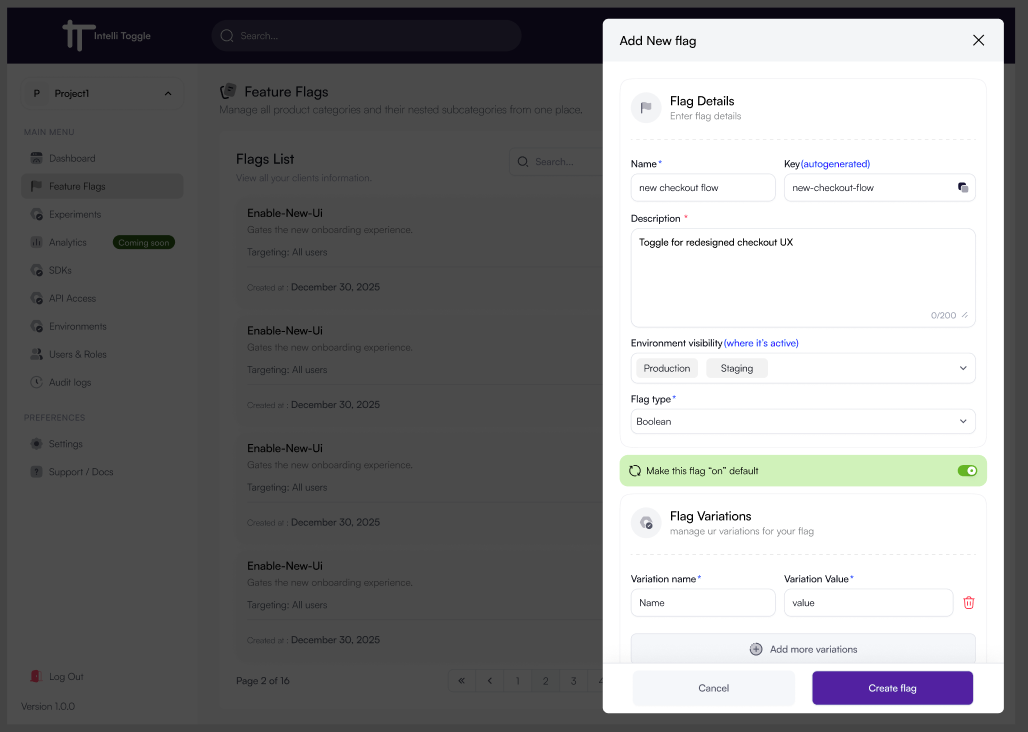
}Step 7: Create a Feature Flag
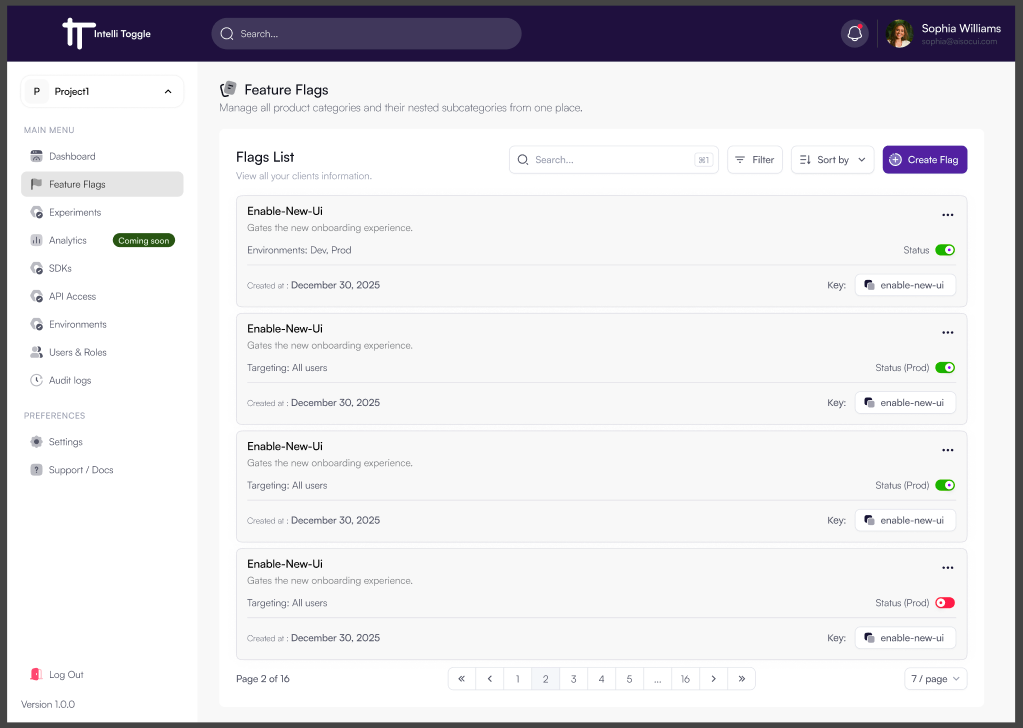
-
Navigate to your dashboard.
-
Open the Flags tab.
-
Click Create Flag.
-
Enter a name and description. A unique key such as
new-checkout-flowis generated for you. -
Select environment visibility.
-
Select a flag type such as Boolean.
-
Choose a default value.
-
Optionally add variations.
-
Click Create Flag.
Step 8: Roll Out a Feature
Open the flag in the dashboard and enable it for the environment you are targeting.
You can then add targeting rules, percentage rollouts, or scheduled activations.
Visual Checklist
The screenshots in this guide follow the same order as the integration flow:
-
Sign up and open the dashboard.
-
Create or select a project.
-
Create OAuth2 client credentials with
flags:readandflags:evaluate. -
Add the packages and environment variables.
-
Create a flag and evaluate it from Dart.
Use the checklist as a quick review before handing the credentials to another service team.
Troubleshooting Quick Checks
| Symptom | Check |
|---|---|
|
Confirm the Dart SDK is |
Token exchange returns |
Check |
Token exchange returns |
Confirm the OAuth client is active, not expired, and includes |
Evaluation returns the default value |
Confirm the flag key, tenant, project, environment, and targeting context match the flag created in the dashboard. |
Local tests should not call production |
Use the in-memory provider or a development API URL. Do not reuse production credentials in local test suites. |
What’s Next?
Need help? Visit to get started or join the community.